When my Gv’s fifth birthday was approaching last year, she wanted nothing more than a sewing machine.
Now, it’s true that sewing is programmed into her DNA, as her maternal grandmother, great-grandmother, and all the great-greats before that filled their days with sewing for enjoyment. Even I have lived through my own obsessive phases of cross-stitching and crocheting (times when I felt the need to create needlework gifts for everyone even remotely connected to me in an attempt to find a practical purpose in the activity other than just giving my hands something to do or calming me down after a long day!)
But Gv was turning five, and really, wasn’t that a little too young for her to have her own sewing machine?
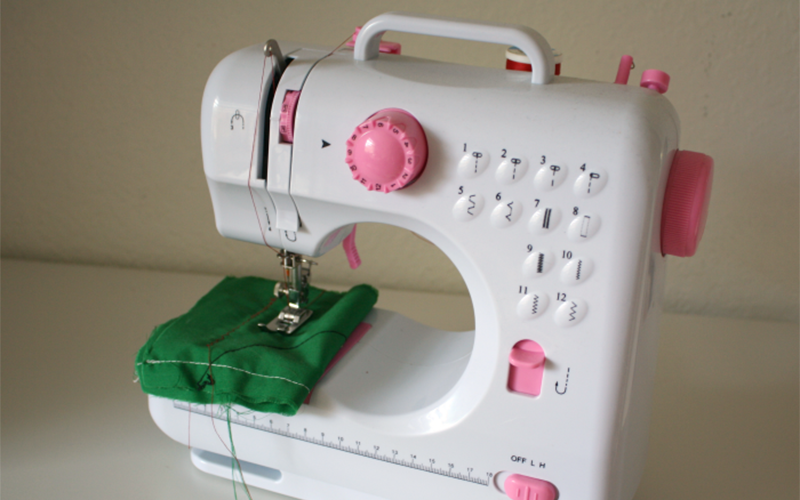
Apparently not, because even though my mom agreed with me that there was no rush to get her one, a dear aunt saw through this rationalization to the passion beneath and just a few days after my little girl became half a decade old, a brand, spanking-new child’s sewing machine showed up on our doorstep.
Sewing Lessons for Preschoolers
You’d have thought we were running a sweatshop in the weeks that followed, because all Gv wanted to do after it arrived was sew. Since I felt the activity was best suited to be done with my ultra-talented mother, Gv made plans each week for “sewing lessons with Grammy” and kept asking when she could start making all her own clothes.
Slow down there a little, squirt. It takes time to get to that point.
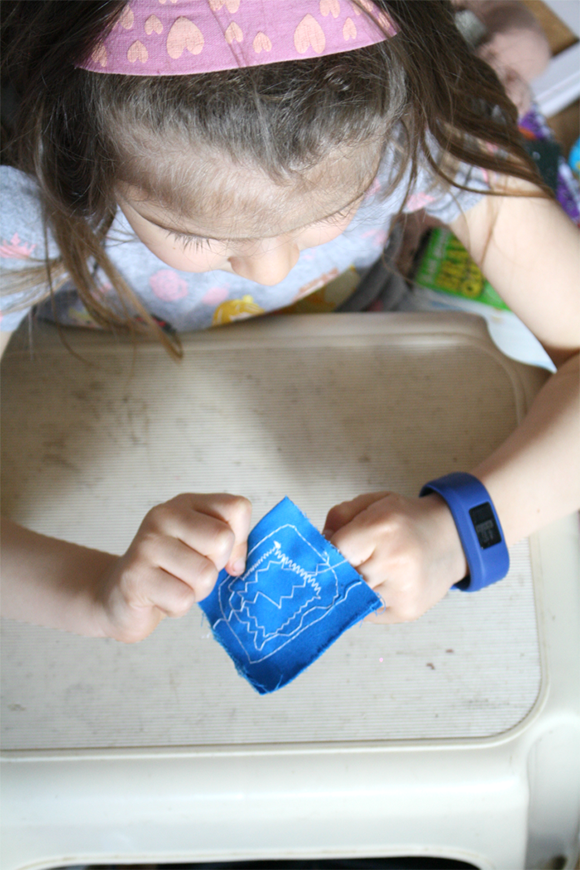
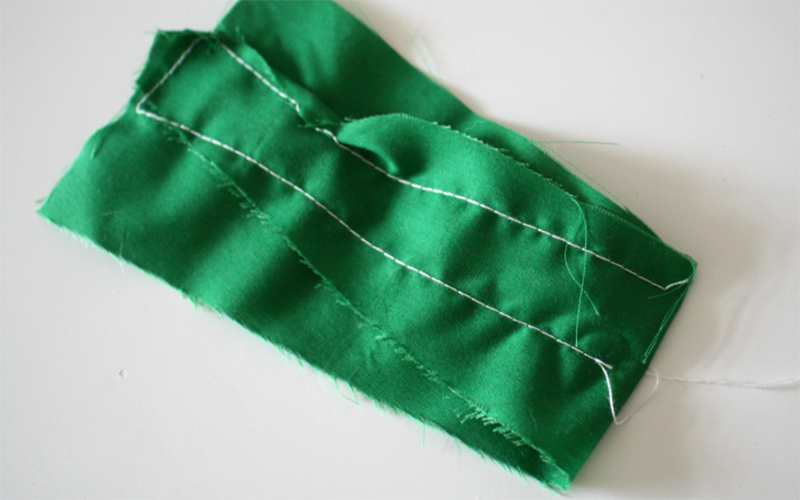
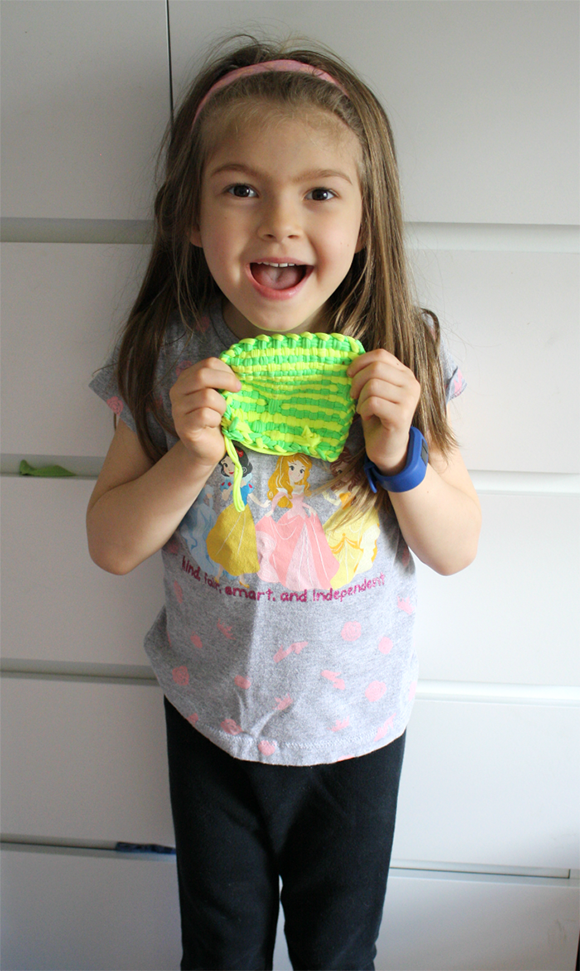
But not as much time as I’d expected, as the two of them progressed rapidly through several simple projects (“I sewed a seam! I made a pillowcase! Now we’re making a shirt! And it’s red!”) and a new generation was added to the family seamstress line.
But even though Gv somehow seemed wired for this need to sew from birth, needlework projects are wonderful to introduce to children early on – even to preschoolers!
Benefits of Sewing and Needlework for Preschoolers
Besides being an activity that is practical, useful and fun, needlework has a long list of benefits for children. It:
- Increases self-confidence, independence and autonomy
- Fosters creativity
- Develops mechanical skills, hand-eye coordination and fine-motor skills/finger dexterity
- Encourages patience, discipline and perseverance
- Requires them to follow directions/instructions
- Creates opportunities for problem-solving
- Engages both brain hemispheres
- Teaches a valuable skill/trade
- Provides a connection to heritage/can be multi-generational activity
- Promotes a focus of process over product
- Exposes them to different colors and textures
So, where do you start with this task? Obviously, you can’t hand a needle and thread over to your three-year-old and expect much to happen, but you can begin to introduce pre-sewing skills at this age that could lead to the completion of actual sewing projects within just a couple of years!
Tips for Sewing with Preschoolers
First, keep in mind a few important tips before you begin:
- You will need to help. A lot. Threading a needle and knotting the thread can be a challenge for even the most dexterous of hands, so these aspects of sewing will take quite a while for your child to master. But please don’t let the fact that you have to thread and knot the needle keep your child from enjoying this activity! Within time, he might even be able to do this task alone with the help of a needle threader like this, or you could even pre-cut, thread and knot several needles to have handy to keep him busy longer and give you a bit of a break!
- Do not expect attention spans to be long. Every child is different, but be prepared to work at a snail’s pace on a project and have an area of your home set up to facilitate this. Dragging everything out for the daily 15-minute sewing session only to put it away again makes the activity seem more like a chore. If you can set up a little corner somewhere for this ongoing project, then it’s much easier to work on a little each day!

Beginner Sewing and Needlework Projects
Now that you’ve checked your expectations a bit, you can think about what the project progression might look like with your little one. This isn’t a hard and fast list, but merely a suggestion of the way the process might flow for your kids:
- Use shoelace-picture lacing kits like this multi-featured kit or this one or this one from Melissa & Doug. Or, invest in some high-quality Montessori lacing boards like these.
- String dried pasta or work with beading kits like this.
- Begin finger knitting with either yarn or loom loops like these. If you don’t know how to do this already, here’s a book to teach you how.
- Try spool knitting (this little kit makes it easy) or making potholder creations with a loop loom like this or this.
- Practice straight and cross-stitches with plastic needle (we love the fun colors of these, although the large eyes might not fit through all-sized holes) and yarn on plastic canvas.
- Practice straight and cross-stitches with needle and thread on gingham fabric.
- Practice straight and cross-stitches using Aida cloth.
- Sew with felt – see this post on making an adorable Quiet Book or grab a book like this for ideas and just sew the felt together instead of gluing it.
- Learn to sew on buttons. Grab your random button collection for this or pick up an assorted bag like this.
- Use pre-cut quilting squares to make simple projects like hot pads.
- Experiment with string art – it’s pretty easy to DIY these projects with a little help from you, or grab a simple kit like this one or this unicorn-pleaser to make it even simpler. This kit would also be a great one to try, especially if you’re already thinking about taking a big summer road trip!
- Engage in beading projects using pony beads or Perler beads (I know that’s not really sewing, but it’ll still work on those fine-motor skills).
- Grab some cross-stitch and embroidery kits (Or begin with pre-printed designs that you or your child draws on fabric and he covers with stitches, which can even lead to his designing his own patterns using graph paper and markers.)
- Begin to use a sewing machine.
After your child gets comfortable with some of these projects (don’t feel she has to tackle all of them!), she’s ready to make her own creations. What types of things should she sew? Click on over to my Syncopated Mama post to find out and to also get one final great tip for setting up your own brave little tailor!
Have you ever considered introducing your young children to the art of needlecraft? I can’t wait to hear! Leave a comment below or email me at lisahealy (at) outlook (dot) com.
- 5 Easy Ways to Incorporate Preschool Math into Your Homeschool Day - September 29, 2022
- Preschool At Home: Calming Your Fears - August 31, 2022
- Homeschooling Your Preschooler: Social-Emotional Learning Guide - July 25, 2022